Introduction
No prior experience needed to create a deployable product.
This is not just a slogan; it reflects the reality of the open-source tutorial project DataWhale Easy-Vibe, which has garnered over 6000 stars on GitHub in just three months and climbed the trending charts.
What is this project?
Easy-Vibe is a modern programming tutorial titled “Vibe Coding 2026” launched by the well-known open-source learning organization DataWhale. It is precisely aimed at beginners in the AI era.
However, don’t be misled by the term “beginner”. This is not your typical tutorial that teaches you to write “Hello World”. Its goal is to enable you to independently create a deployable, monetizable, and usable internet product.
The project leader has aptly stated:
In the AI era, programming starts with describing what you want. Easy-Vibe teaches you how to turn that description into a real product.
Why has it become so popular? Three key designs
After reviewing the entire tutorial system, my biggest takeaway is: this is not teaching programming; it’s teaching a complete methodology for “using AI to create products”.
1. Clear Pathway: From Idea to Monetization
The main issue with traditional programming tutorials is disconnection.
Frontend teaches frontend, backend teaches backend, deployment is another topic, and commercialization is rarely mentioned. After completing a course, you can write code but cannot create a product.
Easy-Vibe breaks this fragmentation by designing a complete path from 0 to monetization:
| Stage | Goal | What You Can Create |
|---|---|---|
| Stage 1 | Product Prototype | A demonstrable AI product prototype to show users or teammates |
| Stage 2 | Full Stack Development | Independently launch modern web applications, connect databases, payment systems, and domains |
| Stage 3 | Advanced Development | Claude Code workflows, MCP, Agent teams, cross-platform apps |
This path design is very much in line with the engineering realities of 2026:
- You don’t learn syntax for three months before doing projects; instead, you start with projects and then understand the principles.
- It’s not just about coding; it covers idea validation → prototype design → full-stack development → deployment → payment integration.
- It extends beyond the web to Agent development, mini-programs, iOS/Android apps.
In other words, by following this path, you will experience the complete workflow of a real independent developer.
2. Easy to Follow: Virtual Mouse + Animation + Interaction
If you’ve experienced traditional programming tutorials, you’re familiar with the overwhelming amount of code and fast-paced lectures that leave you distracted after just a few minutes.
Easy-Vibe’s solution is straightforward: make the tutorial itself an interactive product.
The tutorial employs:
- Virtual mouse animations: Precisely demonstrating each step without missing any clicks.
-
Embedded interactive mini-games: For example, using a snake game to intuitively understand AI programming capabilities.
-
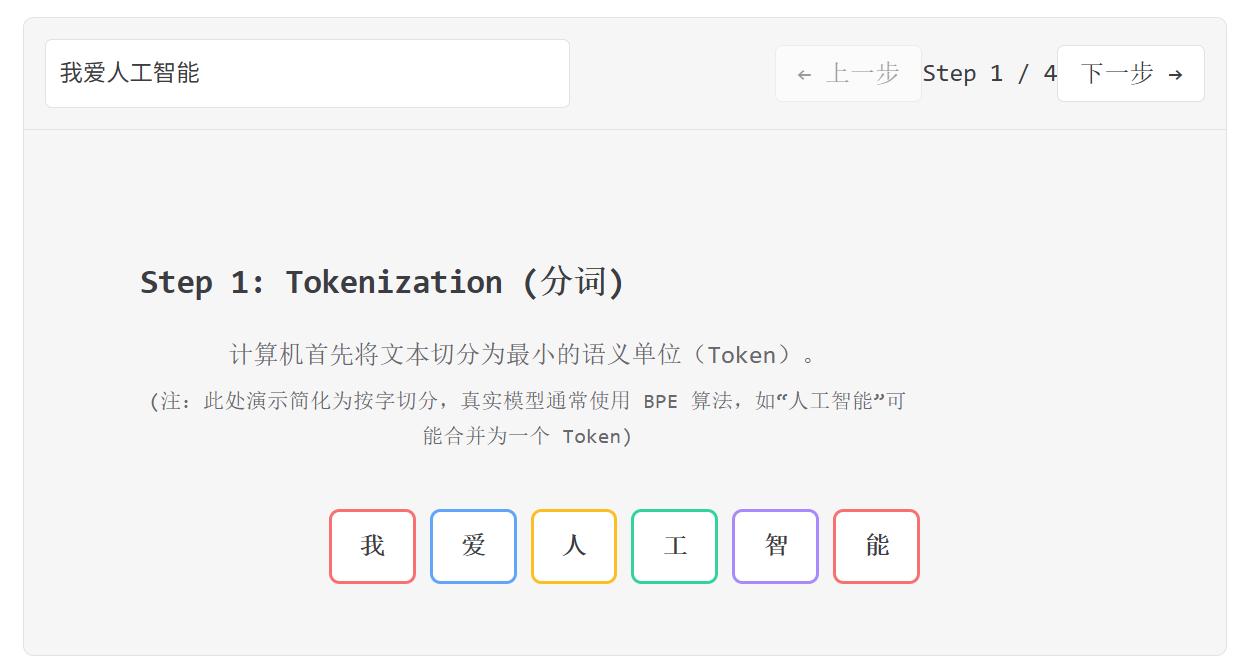
Visual demonstrations: Abstract concepts like Git principles, authentication design, and Prompt Engineering are all visualized.
This design philosophy centers on the idea that learners are not being lectured to; they are experiencing the learning process.
One particularly impressive detail is that the tutorial includes a practical section on “how to design websites using AI programming tools,” comparing seven mainstream AI programming platforms—not just listing parameters but actually using each tool to create the same project, allowing you to intuitively feel the differences.
3. Real Projects: Ordinary People’s Cases + SaaS Practice
This is Easy-Vibe’s secret weapon that sets it apart from 99% of programming tutorials.
The cases in the tutorial are not textbook projects like “student management systems” but are realistic enough to be commercially viable:
- SaaS copy generator (full-stack practice, including Stripe payment integration)
- WeChat mini-program backend development
- Hogwarts dynamic portraits (AI image interaction frontend project)
- Asset production Agent (using Lovart to batch generate visual materials)

Even more impressive is the dedicated Vibe Stories section, which collects real user stories of products created using AI:
- A rural primary school teacher created their own teaching tool.
- A college student independently launched their first project.
- A high school IT teacher introduced AI programming into the classroom.
- A truck driver developed their own product in their spare time.
These are not fabricated inspirational stories; each has specific project links and development histories. When you see that even a truck driver can create a deployable product, it becomes hard to say, “I can’t do it.”
Three-Stage System Breakdown: What Will You Learn?
Stage 1: Product Prototype (Starting from Zero)
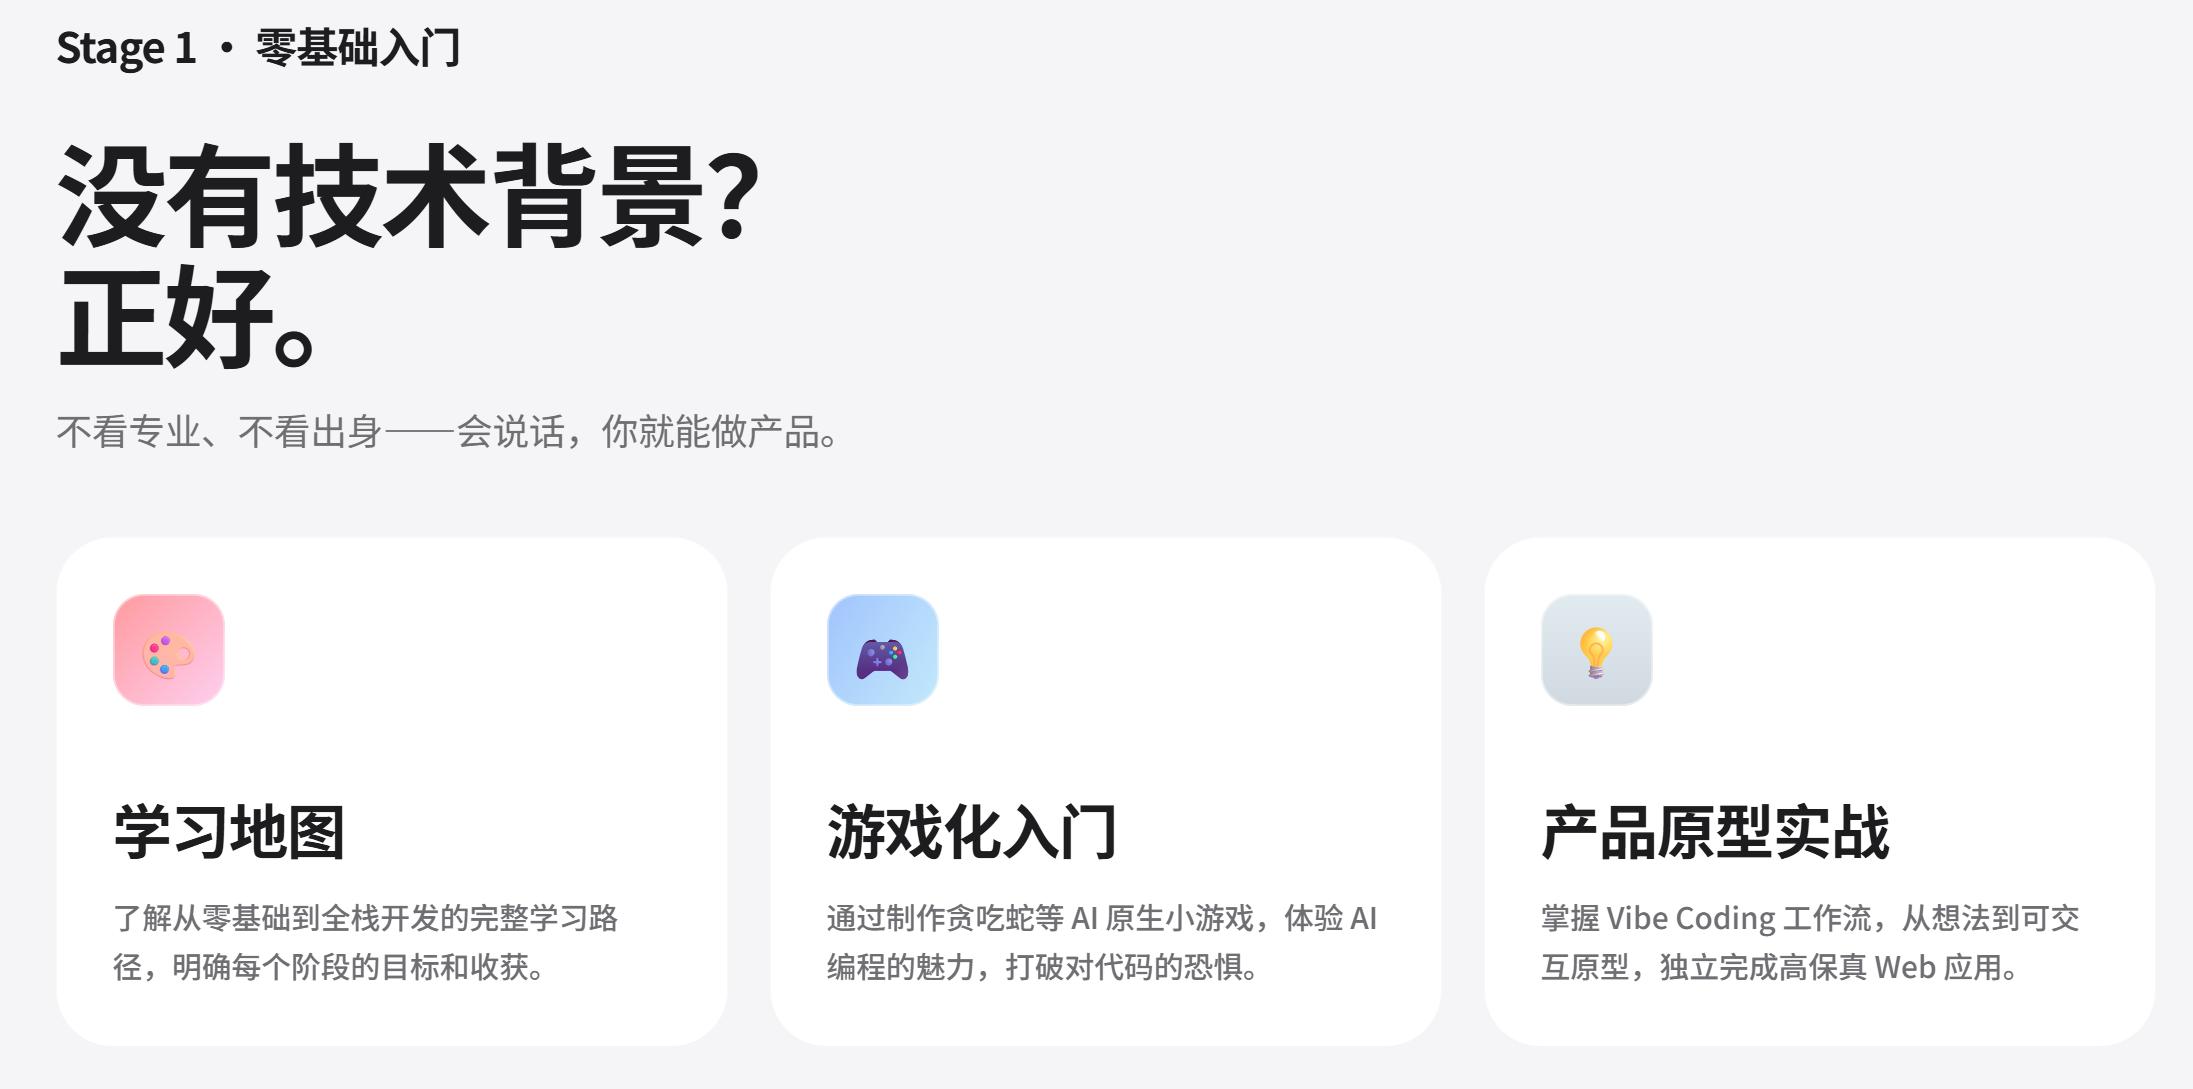
The goal of this stage is to help you establish an intuitive understanding of “AI programming” and quickly create a demonstrable product prototype.
Core content includes:
- Learning roadmap for the AI era.
- Getting started with AI IDE tools like Cursor, Windsurf, Trae.
- How to discover and validate product ideas (with a complete user research and demand validation methodology).
- Building product prototypes from single-page to multi-page.
- Integrating text/image/video AI capabilities.
- Complete project practice + user feedback iteration.
An appendix includes a knowledge base of 9 major fields and 80+ interactive topics covering computer basics, frontend and backend fundamentals, AI principles, etc. You can look up anything you get stuck on without needing to go elsewhere for supplementary lessons.
Stage 2: Full Stack Development (From Prototype to Product)
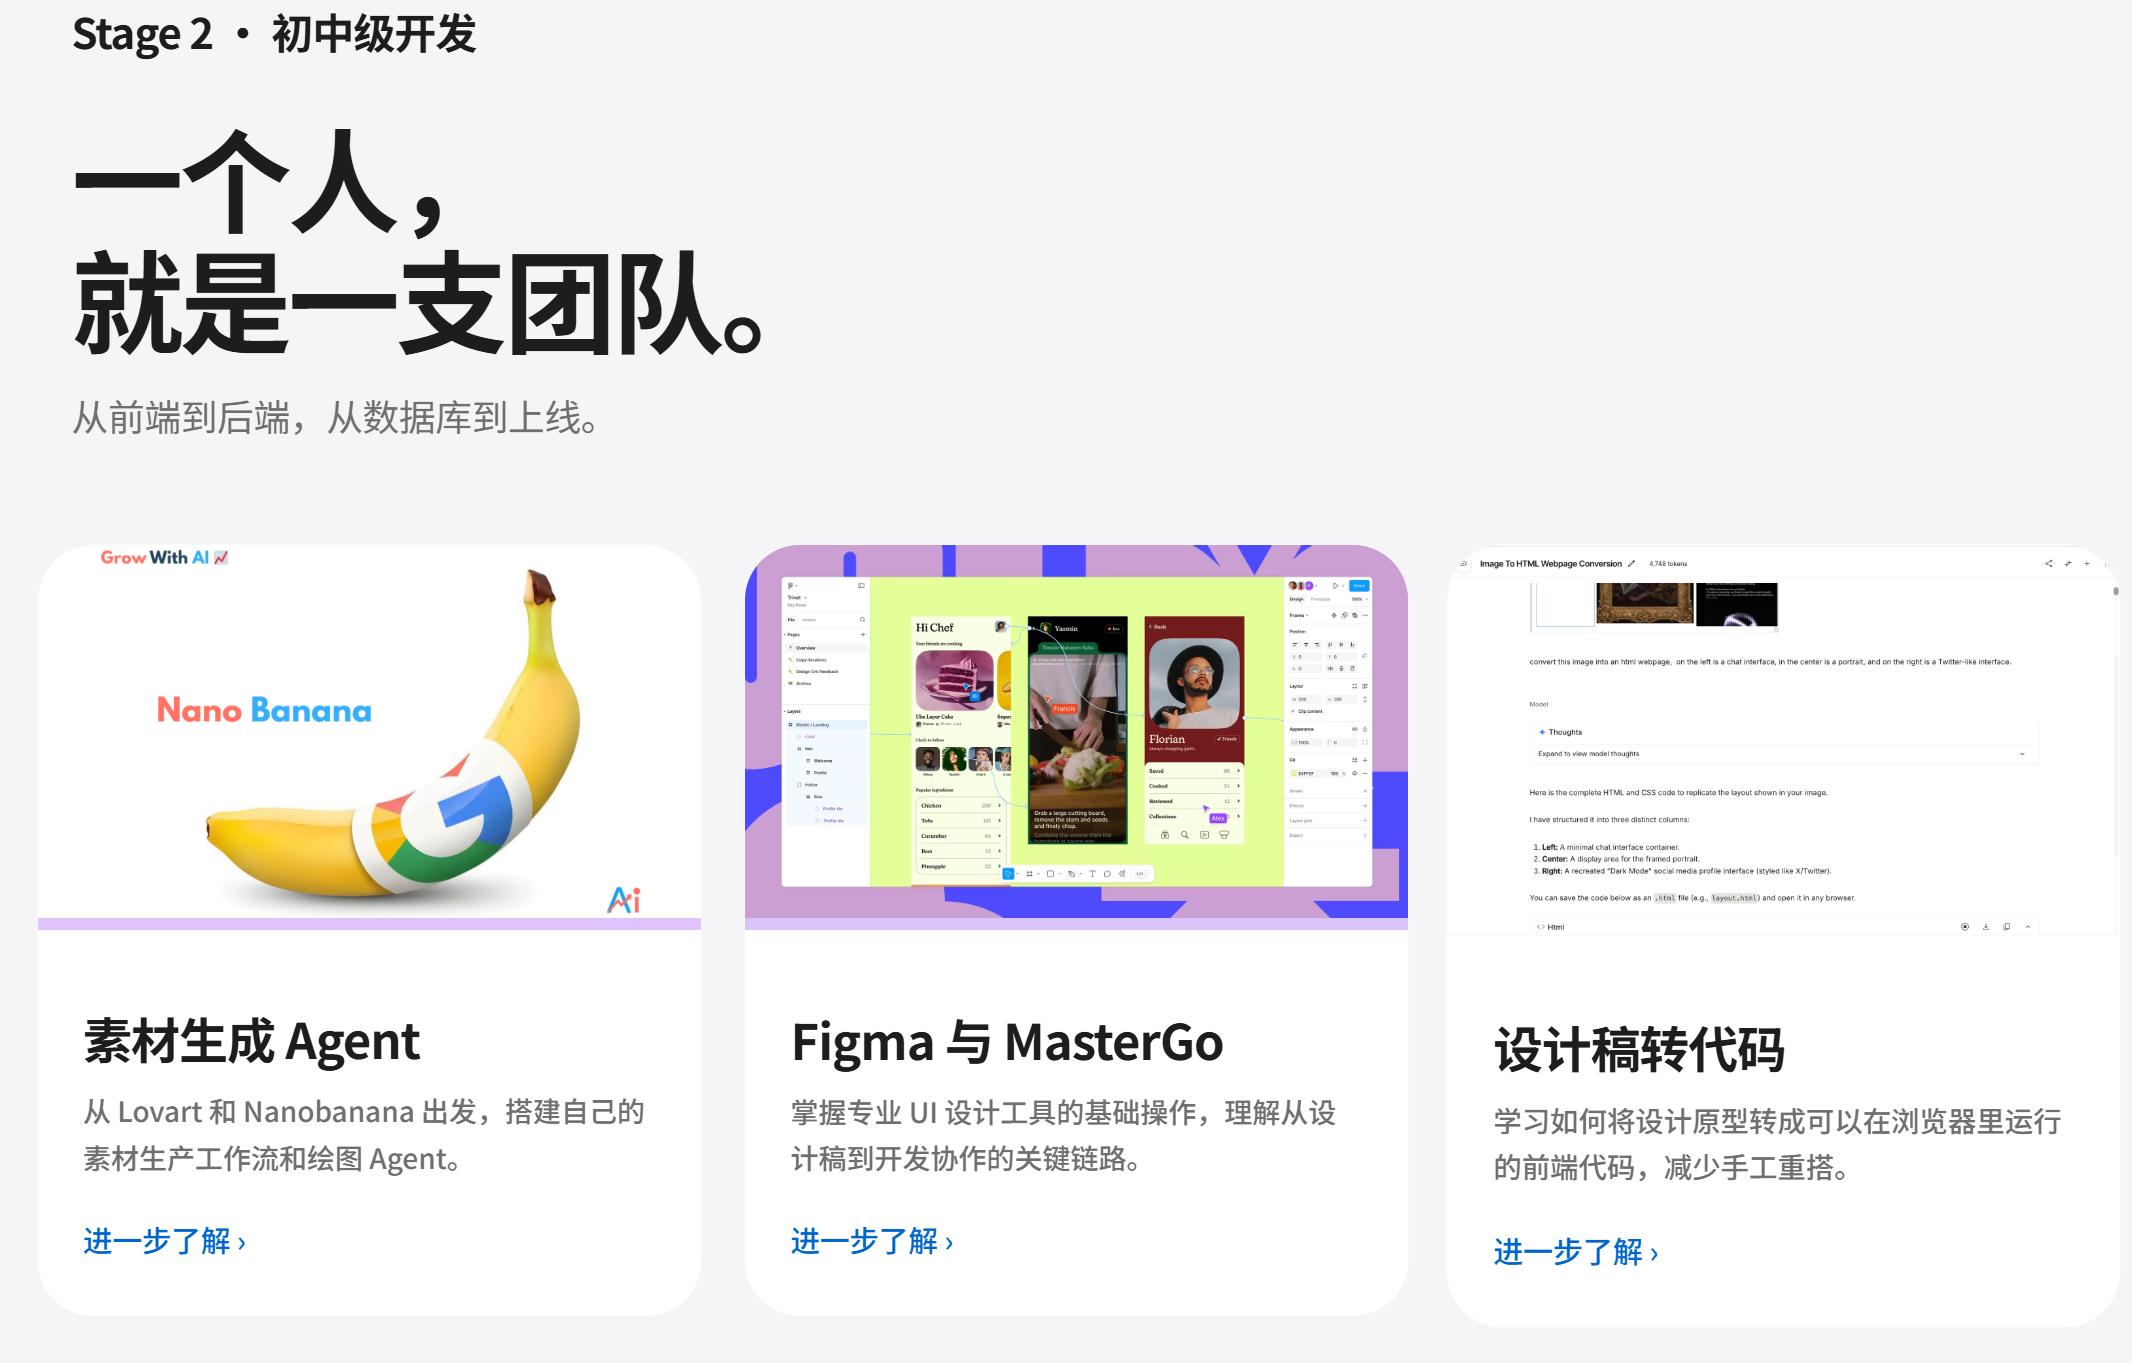
This is the most hardcore part of the entire tutorial, aiming to enable you to independently deliver modern web applications.
Frontend section:
- Figma/MasterGo design workflow.
- Basics of UI design and multi-product design specifications.
- Generating beautiful interfaces using LLM + Skills.
- Converting design drafts to code (Design to Code).
- Practical experience with modern component libraries.
Backend section:
- Git/GitHub workflow.
- Databases and Supabase.
- Integrating Stripe payment systems.
- Multi-product UI design.
- WeChat mini-program backend.
Each module is paired with practical projects, culminating in a complete SaaS copy generator full-stack project—covering everything from UI design to database and payment processing.
Stage 3: Advanced Development (AI Native Engineering)

Targeted at developers wanting to delve deeper into AI collaborative workflows:
- Deep use of Claude Code.
- MCP (Model Context Protocol).
- Skills system.
- Agent team collaboration.
- Long-term task processing.
- Spec Coding.
- Cross-platform projects (Android/iOS apps).
Continuous Evolution: A Living Tutorial
Another reassuring aspect of Easy-Vibe is its update frequency.
Check out its update log:
- March 2026: Launched Vibe Stories, SaaS practical projects, detailed payment system.
- February 2026: Expanded appendix knowledge base to 9 fields and 80+ topics.
- January 2026: Added Android/iOS app development tutorials, interactive demonstrations of Prompt Engineering.
- Continuous additions: Cloud Cursor support, llms.txt (allowing AI Agents like OpenClaw/Claude/Cursor to read the tutorial directly).
It supports Cloud Cursor, meaning you can directly follow the tutorial in a cloud-based AI programming environment without needing to configure a local development setup.
Moreover, the project is fully open-source, with comprehensive documentation in both Chinese and English, allowing anyone to contribute.
Who is this tutorial for?
Honestly, not everyone needs this tutorial. But if you belong to the following categories, it is almost tailor-made for you:
- Complete beginners with something they want to create: Don’t learn syntax first; directly follow Stage 1 to create a project. After completing it, you’ll know if this path suits you.
- Product managers/entrepreneurs wanting to validate ideas at low cost: The prototype methodology from Stage 1 + MVP development skills from Stage 2 allow you to get started without relying on a technical partner.
- Students wanting to gain practical experience: A real link to a deployed product is 100 times more convincing than just stating “familiar with Python” on a resume.
- Junior developers wanting to complete their full-stack skills: Completing the entire chain from frontend to backend to deployment to payment will result in a qualitative leap in your abilities.
- Mid to senior developers wanting to upgrade AI collaborative workflows: Content from Stage 3, including Claude Code, MCP, and Agent teams, directly pushes AI collaboration towards engineering.
Conclusion
Programming education in 2026 is undergoing a paradigm shift.
The traditional model of “learning the basics for three years before doing projects” has become inefficient and disconnected from reality in the AI era. The new paradigm represented by Easy-Vibe is: product-oriented, leveraging AI to enable learners to build capabilities through real projects.
6000+ stars are not a coincidence. They reflect countless individuals finding the confidence that “I can also create products”.
If you have always wanted to use AI to create something but didn’t know where to start, my advice is:
Bookmark this tutorial and open the first lesson of Stage 1 today.
The best time to start was a year ago; the next best time is now.
Project Links:
This concludes the in-depth introduction to DataWhale Easy-Vibe. If you want to create products using AI, this project is worth adding to your favorites.
Comments
Discussion is powered by Giscus (GitHub Discussions). Add
repo,repoID,category, andcategoryIDunder[params.comments.giscus]inhugo.tomlusing the values from the Giscus setup tool.